Exporting your Project#
This tutorial will show you how to export properly a project using Range Armor, Be sure to follow all the steps to prevent fails and errors.
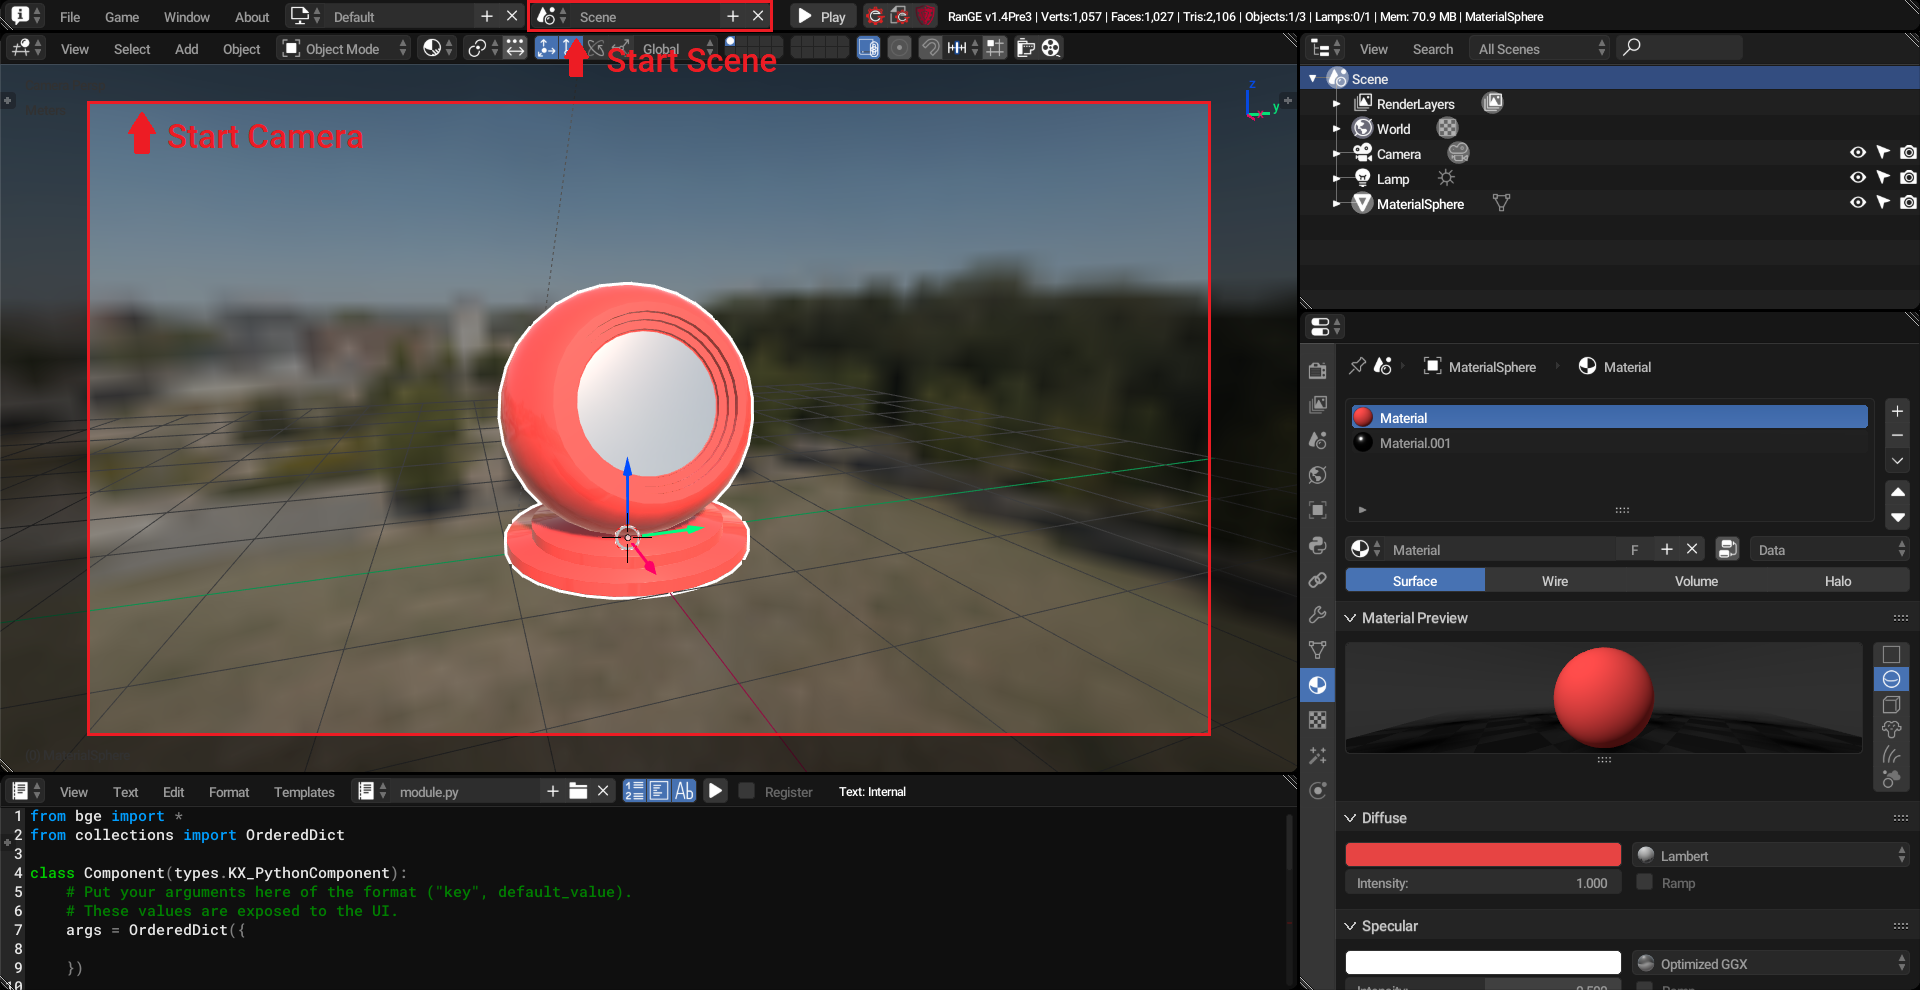
Setup The Scene#
Setup the project to the right scene and camera, the standalone will start from the scene and camera that your project is.
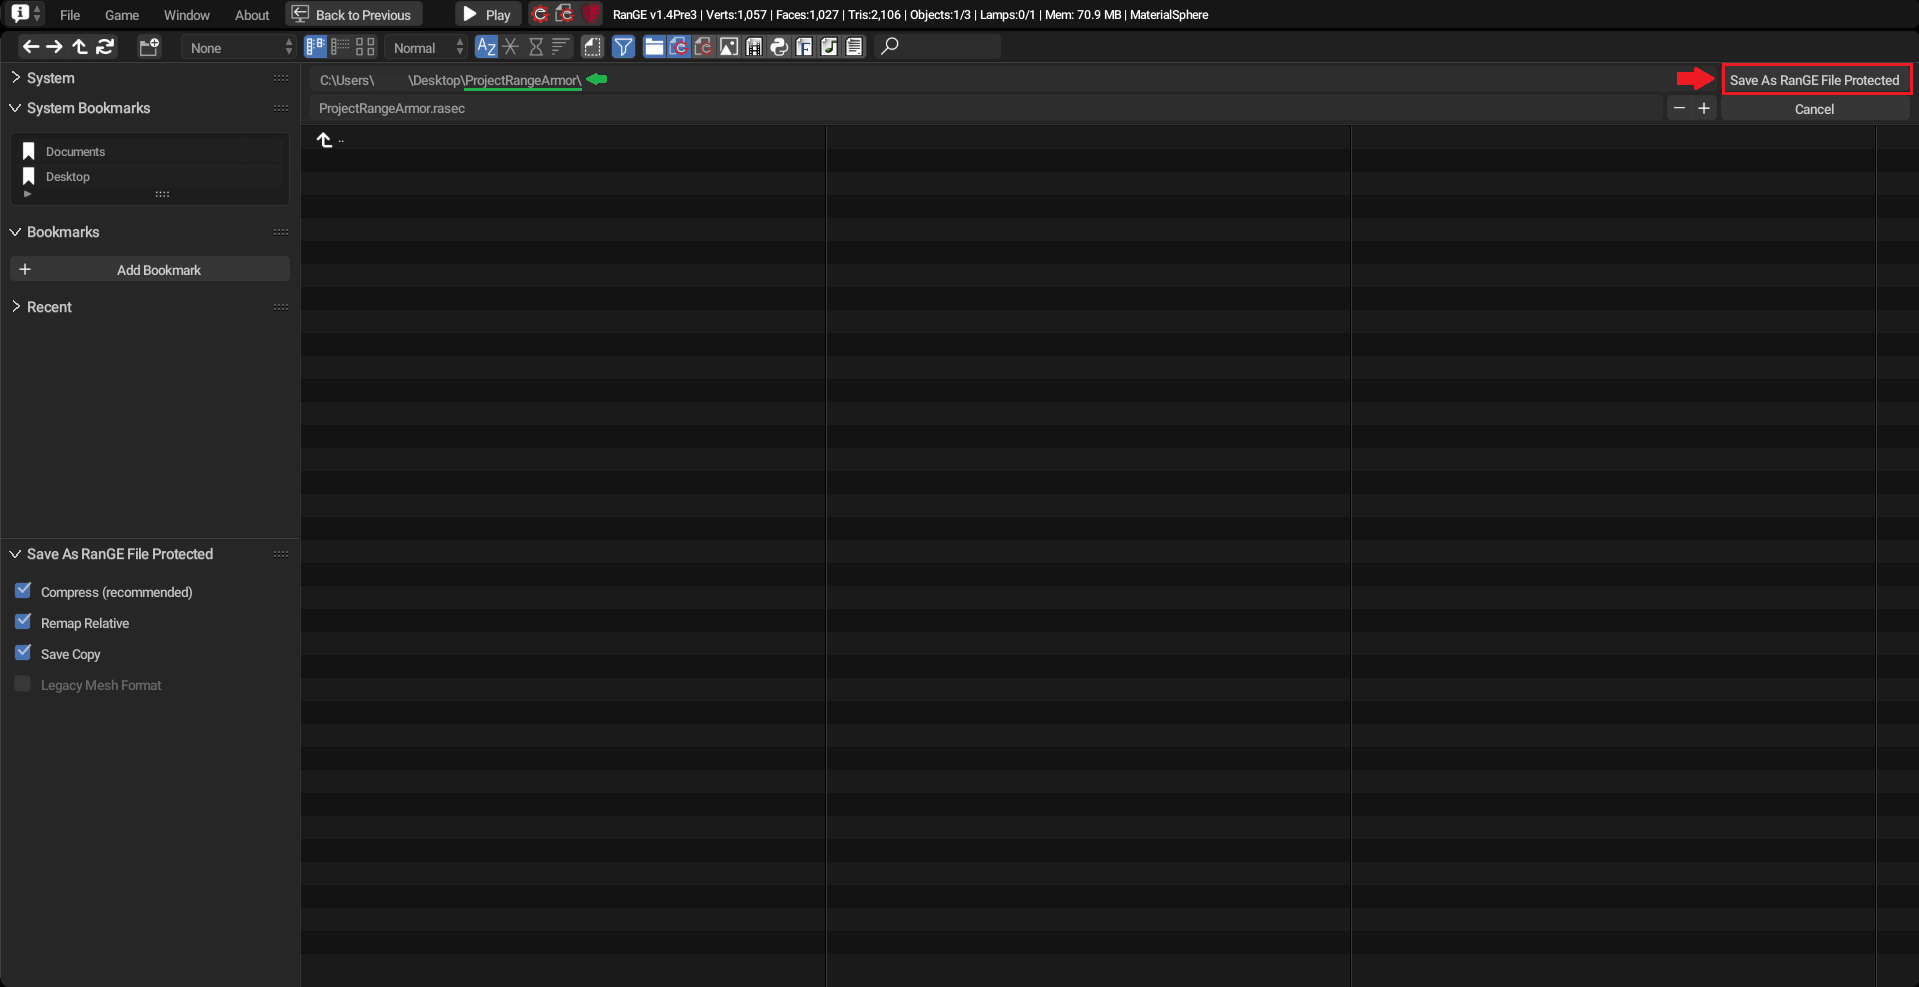
Saving the file as Range Protected File (RASEC)#
RASEC is the new file security system to Range Armor (Range Engine 1.4+)
After the scene is setup, you need the save your file as a .rasec

Tip
To organize better your project make a new folder and save the .rasec
Setup Range Armor#
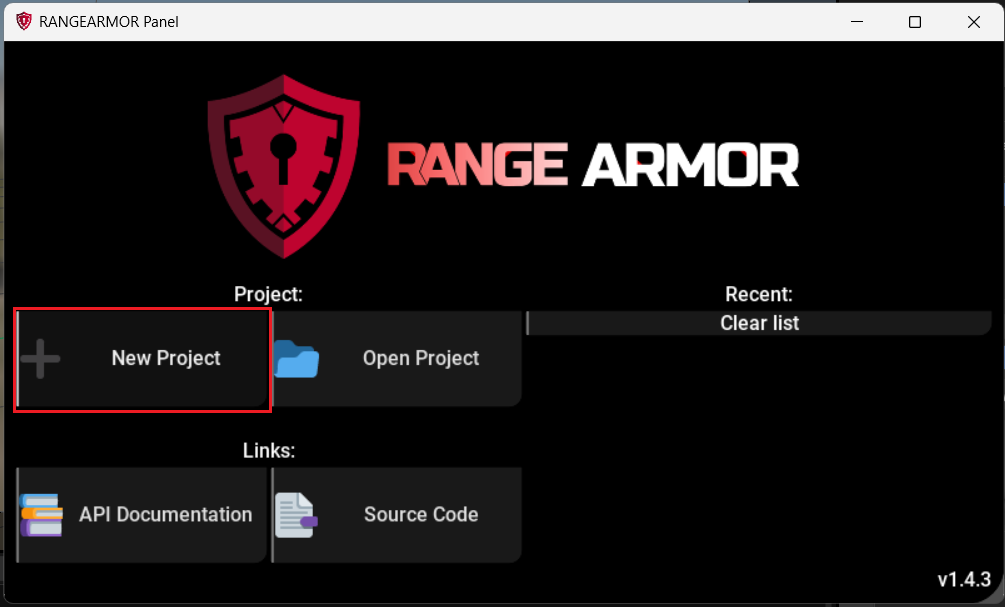
Creating a new Project#
Now you need to open Range Armor, you can find it in File or Info tab

Now you need to create a New Project
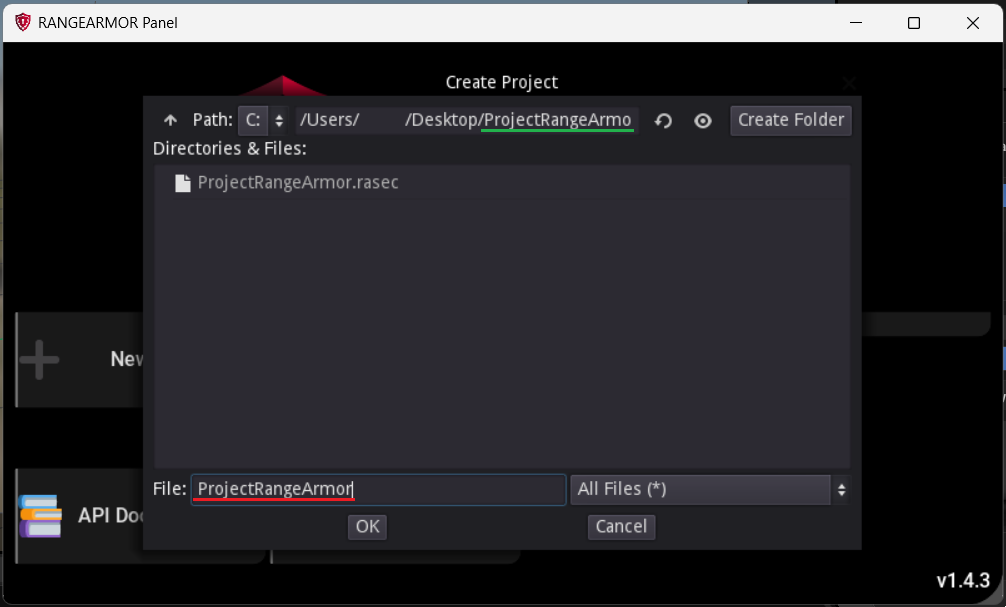
Create a name to your project folder and click OK#
Tip
Create the project inside the folder you made to the .rasec file
Warning
Don’t try to create the project inside Program Files folder, otherwise it will fail
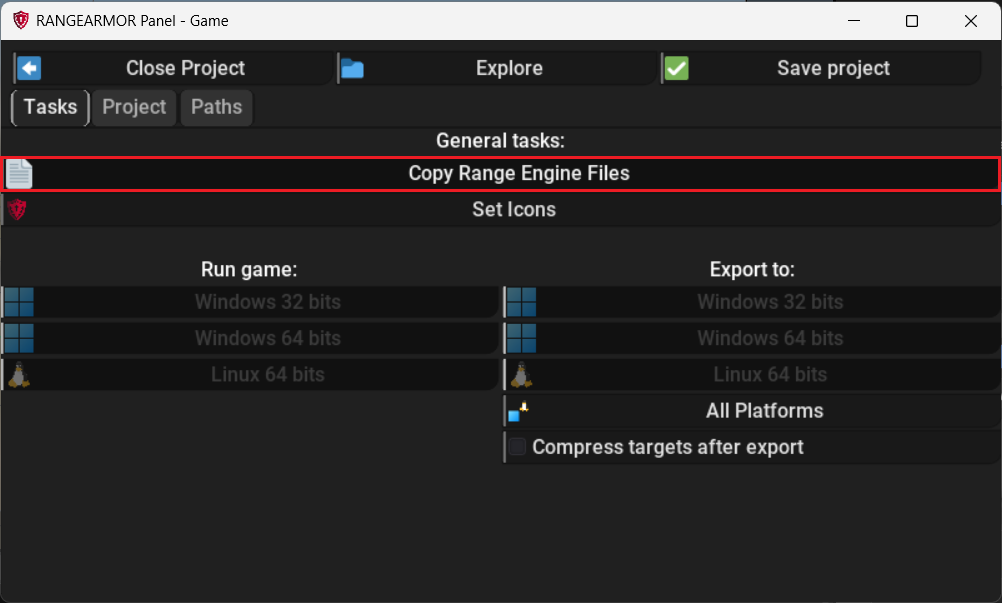
Copying Engine Files#
Range Armor needs the engine files to make the exporting process possible, now you can copy the files of your current engine release with just one click, you just need to click in Copy Range Engine Files
Warning
If you want to export to more systems you must to copy the files from each version manually as said in Engine Folder
Importing Project and Engine Files#
Range Armor require some files inside the new project folder you create, as your project file, icons and some engine files from other releases if you want to export for more systems.
When you create a Range Armor project, a folder is created with 4 folders in
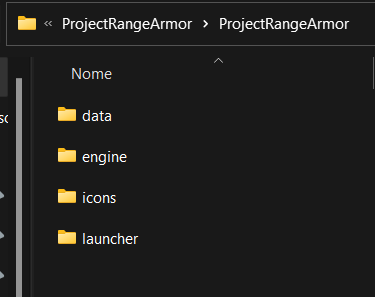
- The folders is:
Data (Your Project)
Engine (Engine files)
Icons (Custom Icons)
Launcher (Range Armor Files)
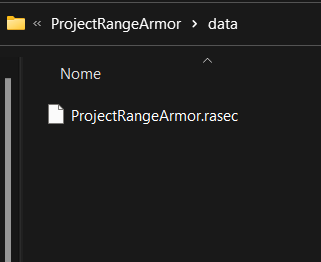
Data Folder#
First of all, move your project .rasec to the Data folder and delete the Example Game.range
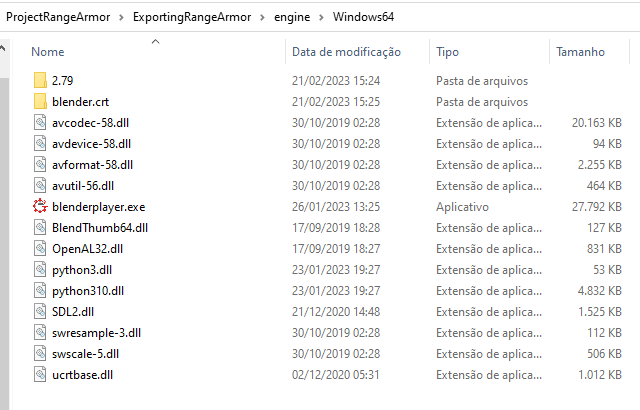
Engine Folder (Optional)#
Now you need to move some files from the Range Engine release version to the Engine folder
In this example the project will be exported to Windows x64, so you need to copy some Range Engine Windows x64 files to the Engine/Windows64 folder
Icons Folder#
In this folder you can set custom icons to your project executable file, you just got to replace the stardard icons in the folder for your custom icons with the same name as the default icons

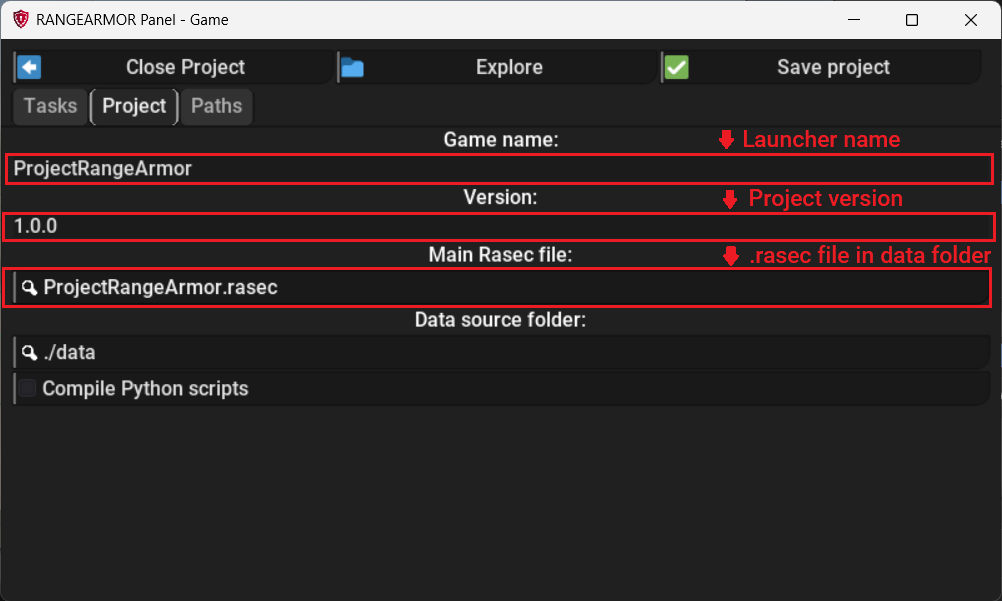
Setup The Project#
Now in the Project panel in Range Armor
- You need to change:
The project/launcher name
The version of the project
.rasec file path (data folder)
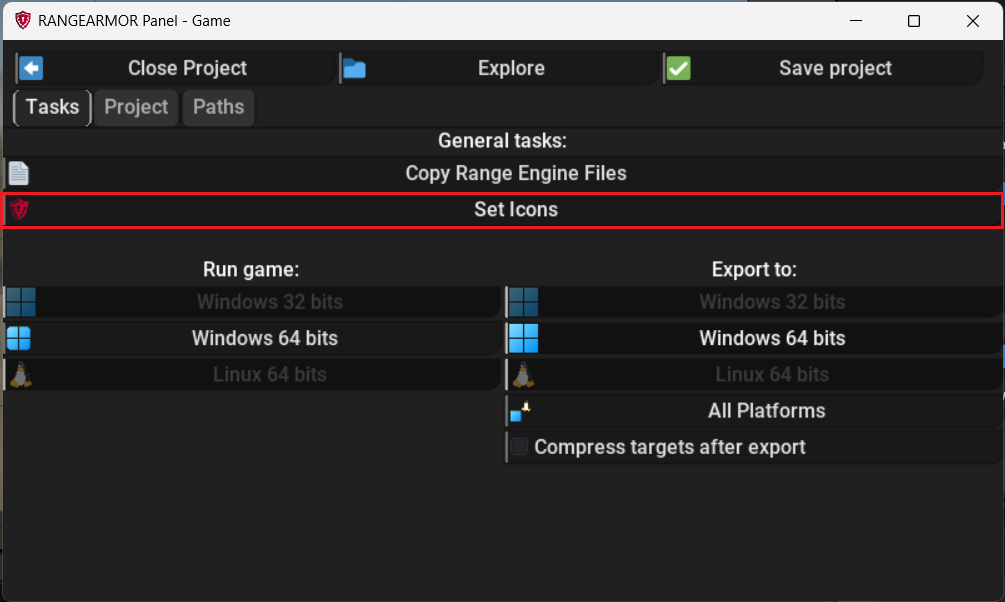
Exporting#
Finally you just have to choose the platform you want to export your project
Tip
If you want export to more platforms at the same time just choose All Platforms

Then you just need to set the icons of launcher
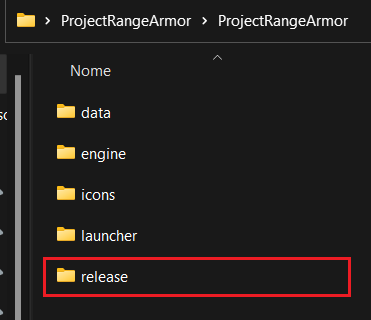
When the export gets finished you can find you project in the Release folder
Conclusion#
Now your project is properly exported, you already can publish your game in online platforms without problems with security and licensing!
- Learn more about Range Armor licensing: